
Home
/
FNIRSI 2C53T Handheld Oscilloscope 50MHz, 3IN1 Multimeter

FNIRSI 2C53T Handheld Oscilloscope 50MHz, 3IN1 Multimeter
Quantity
-
Detail
Description for this item:



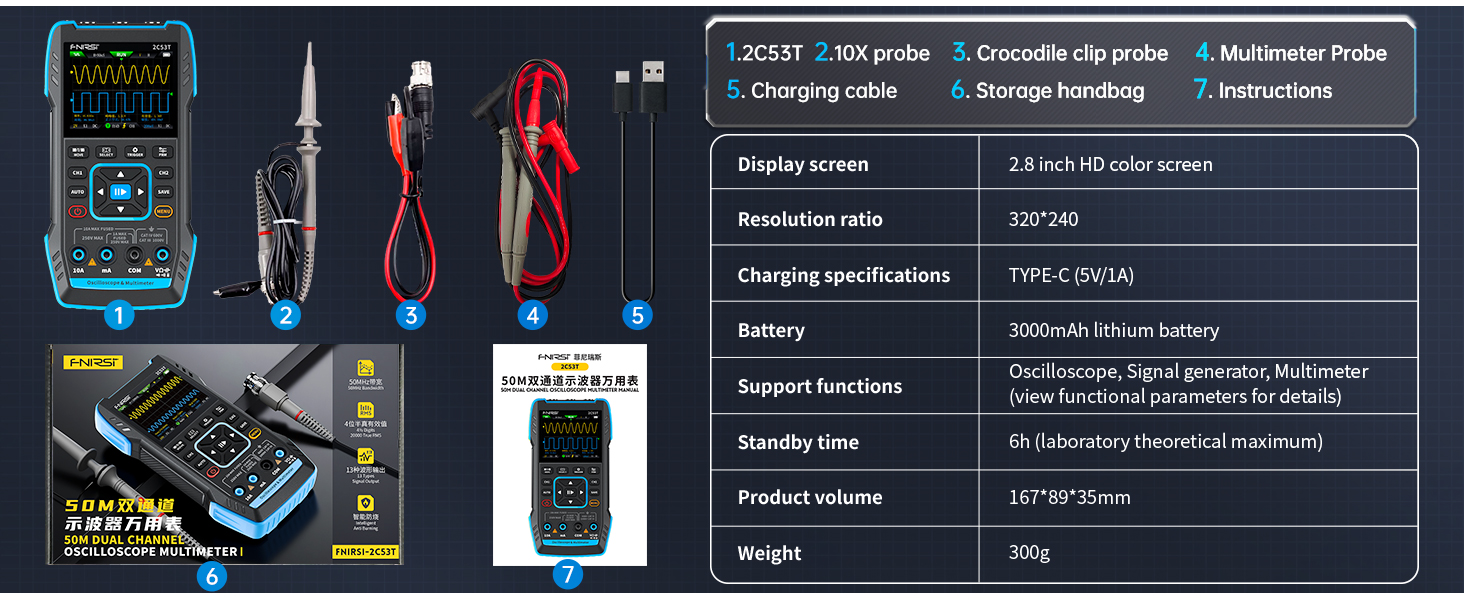
About this item:
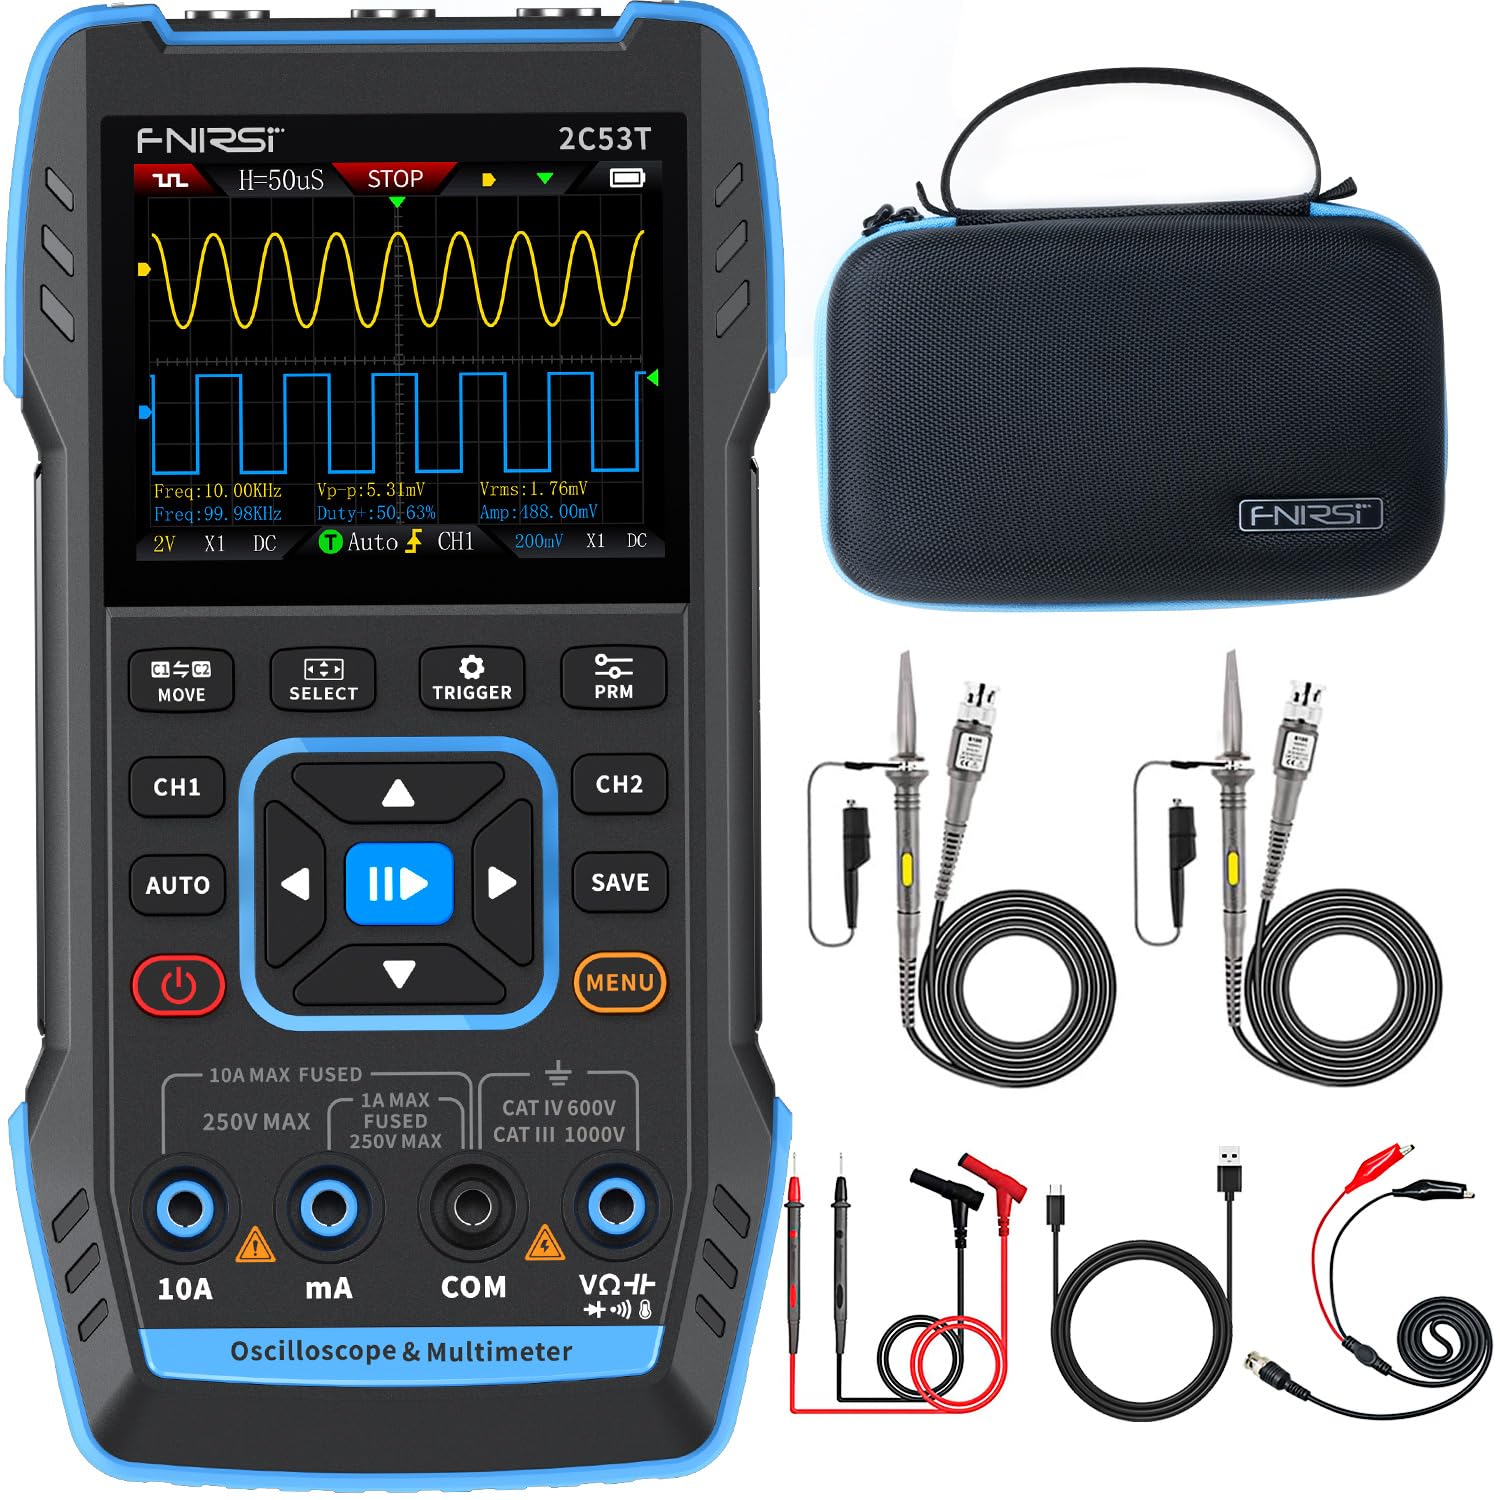
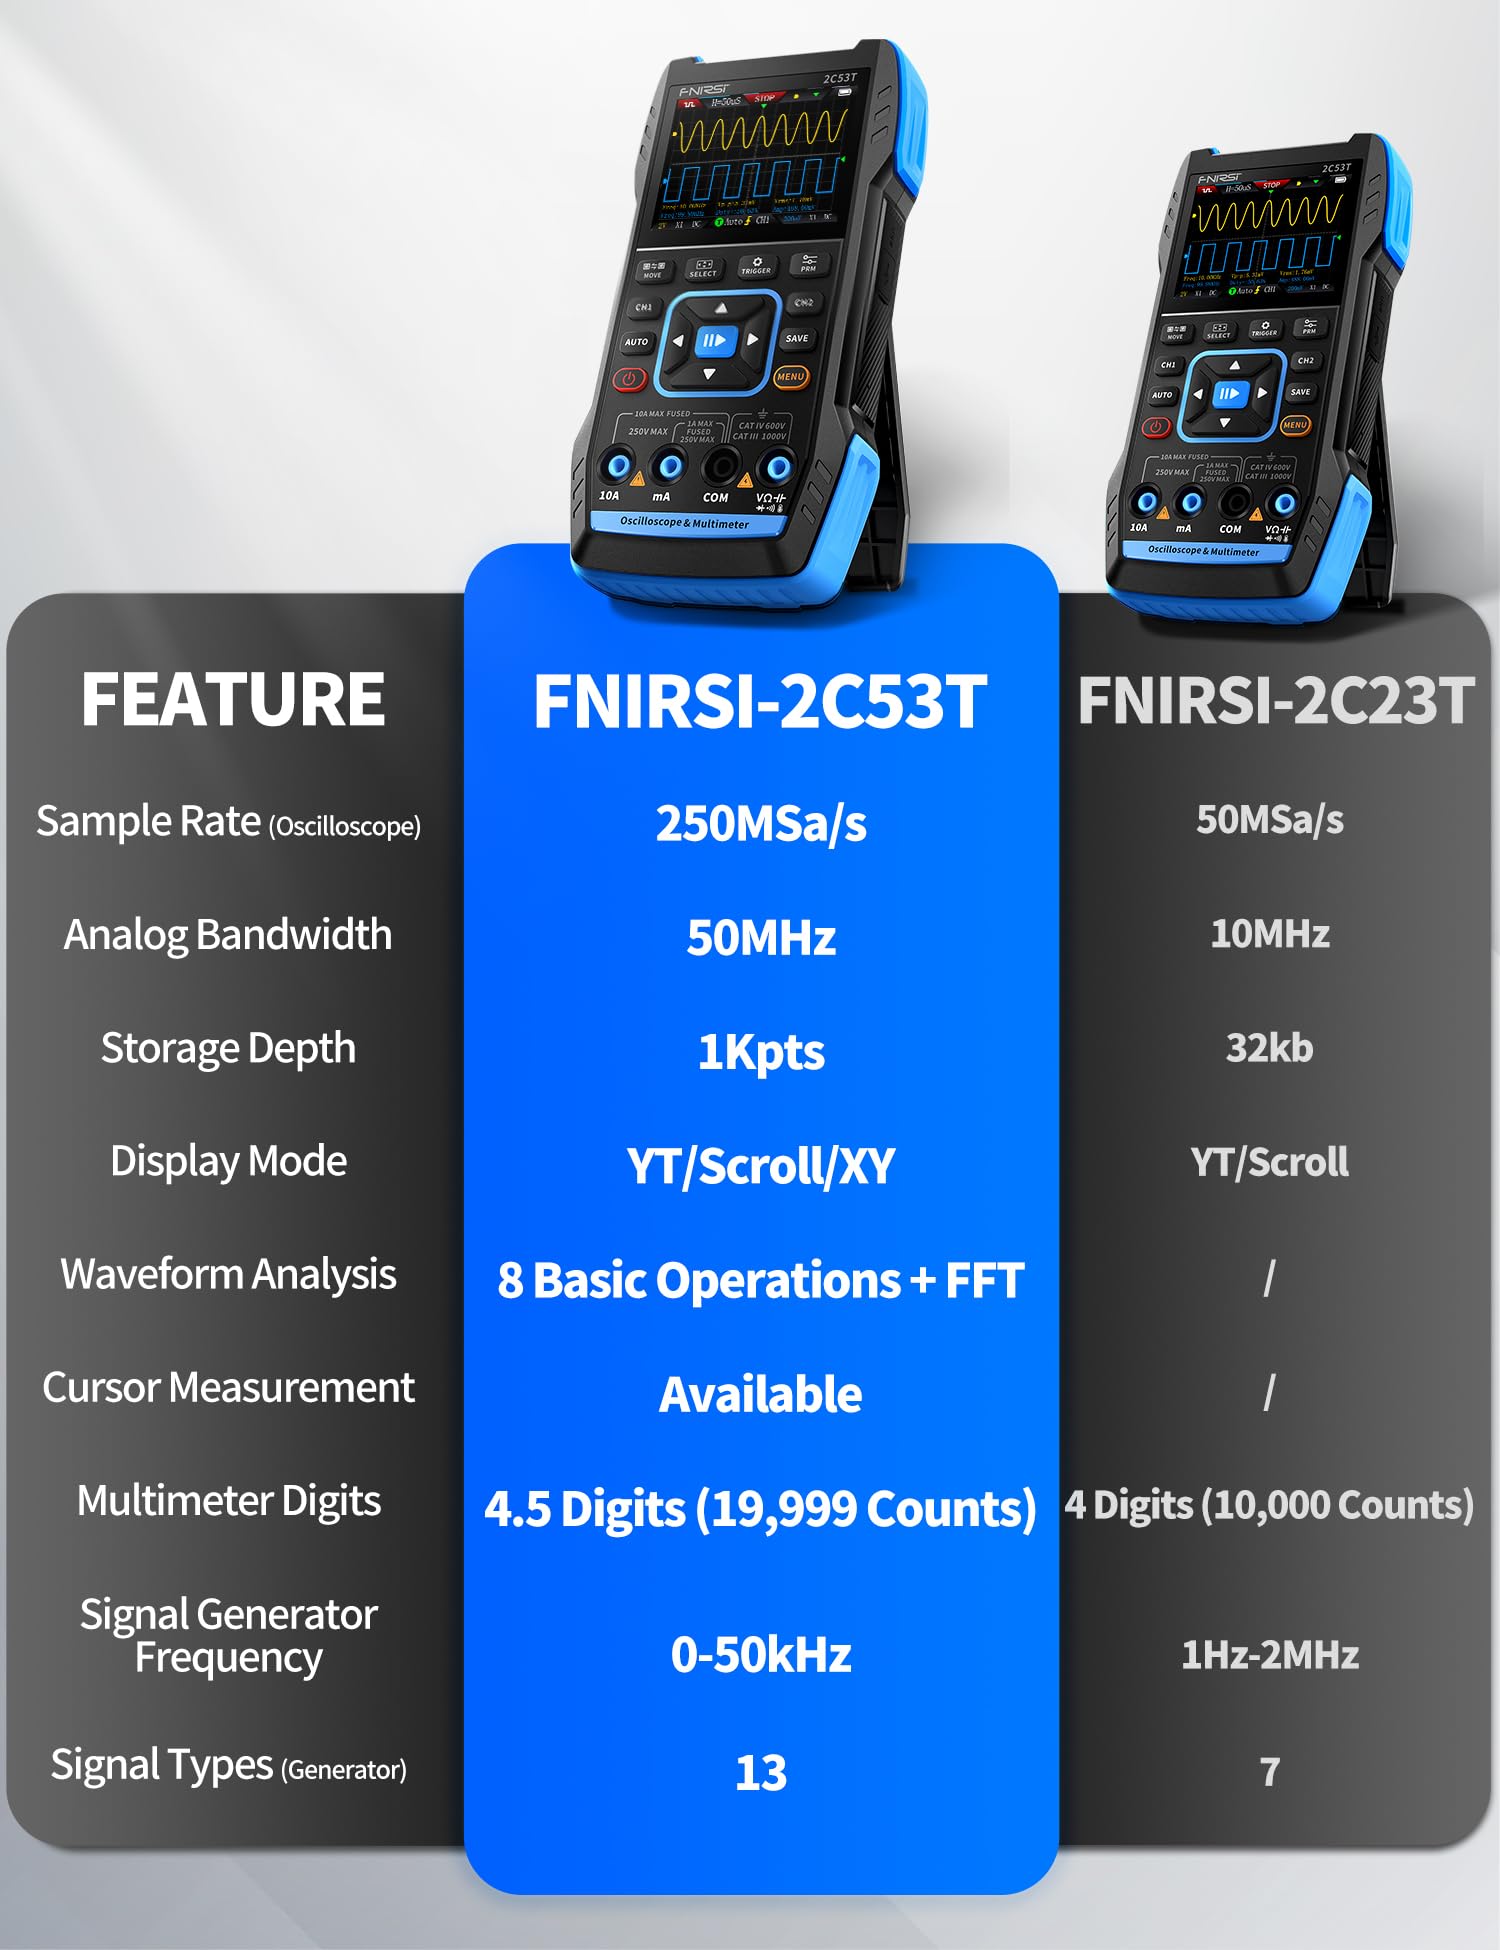
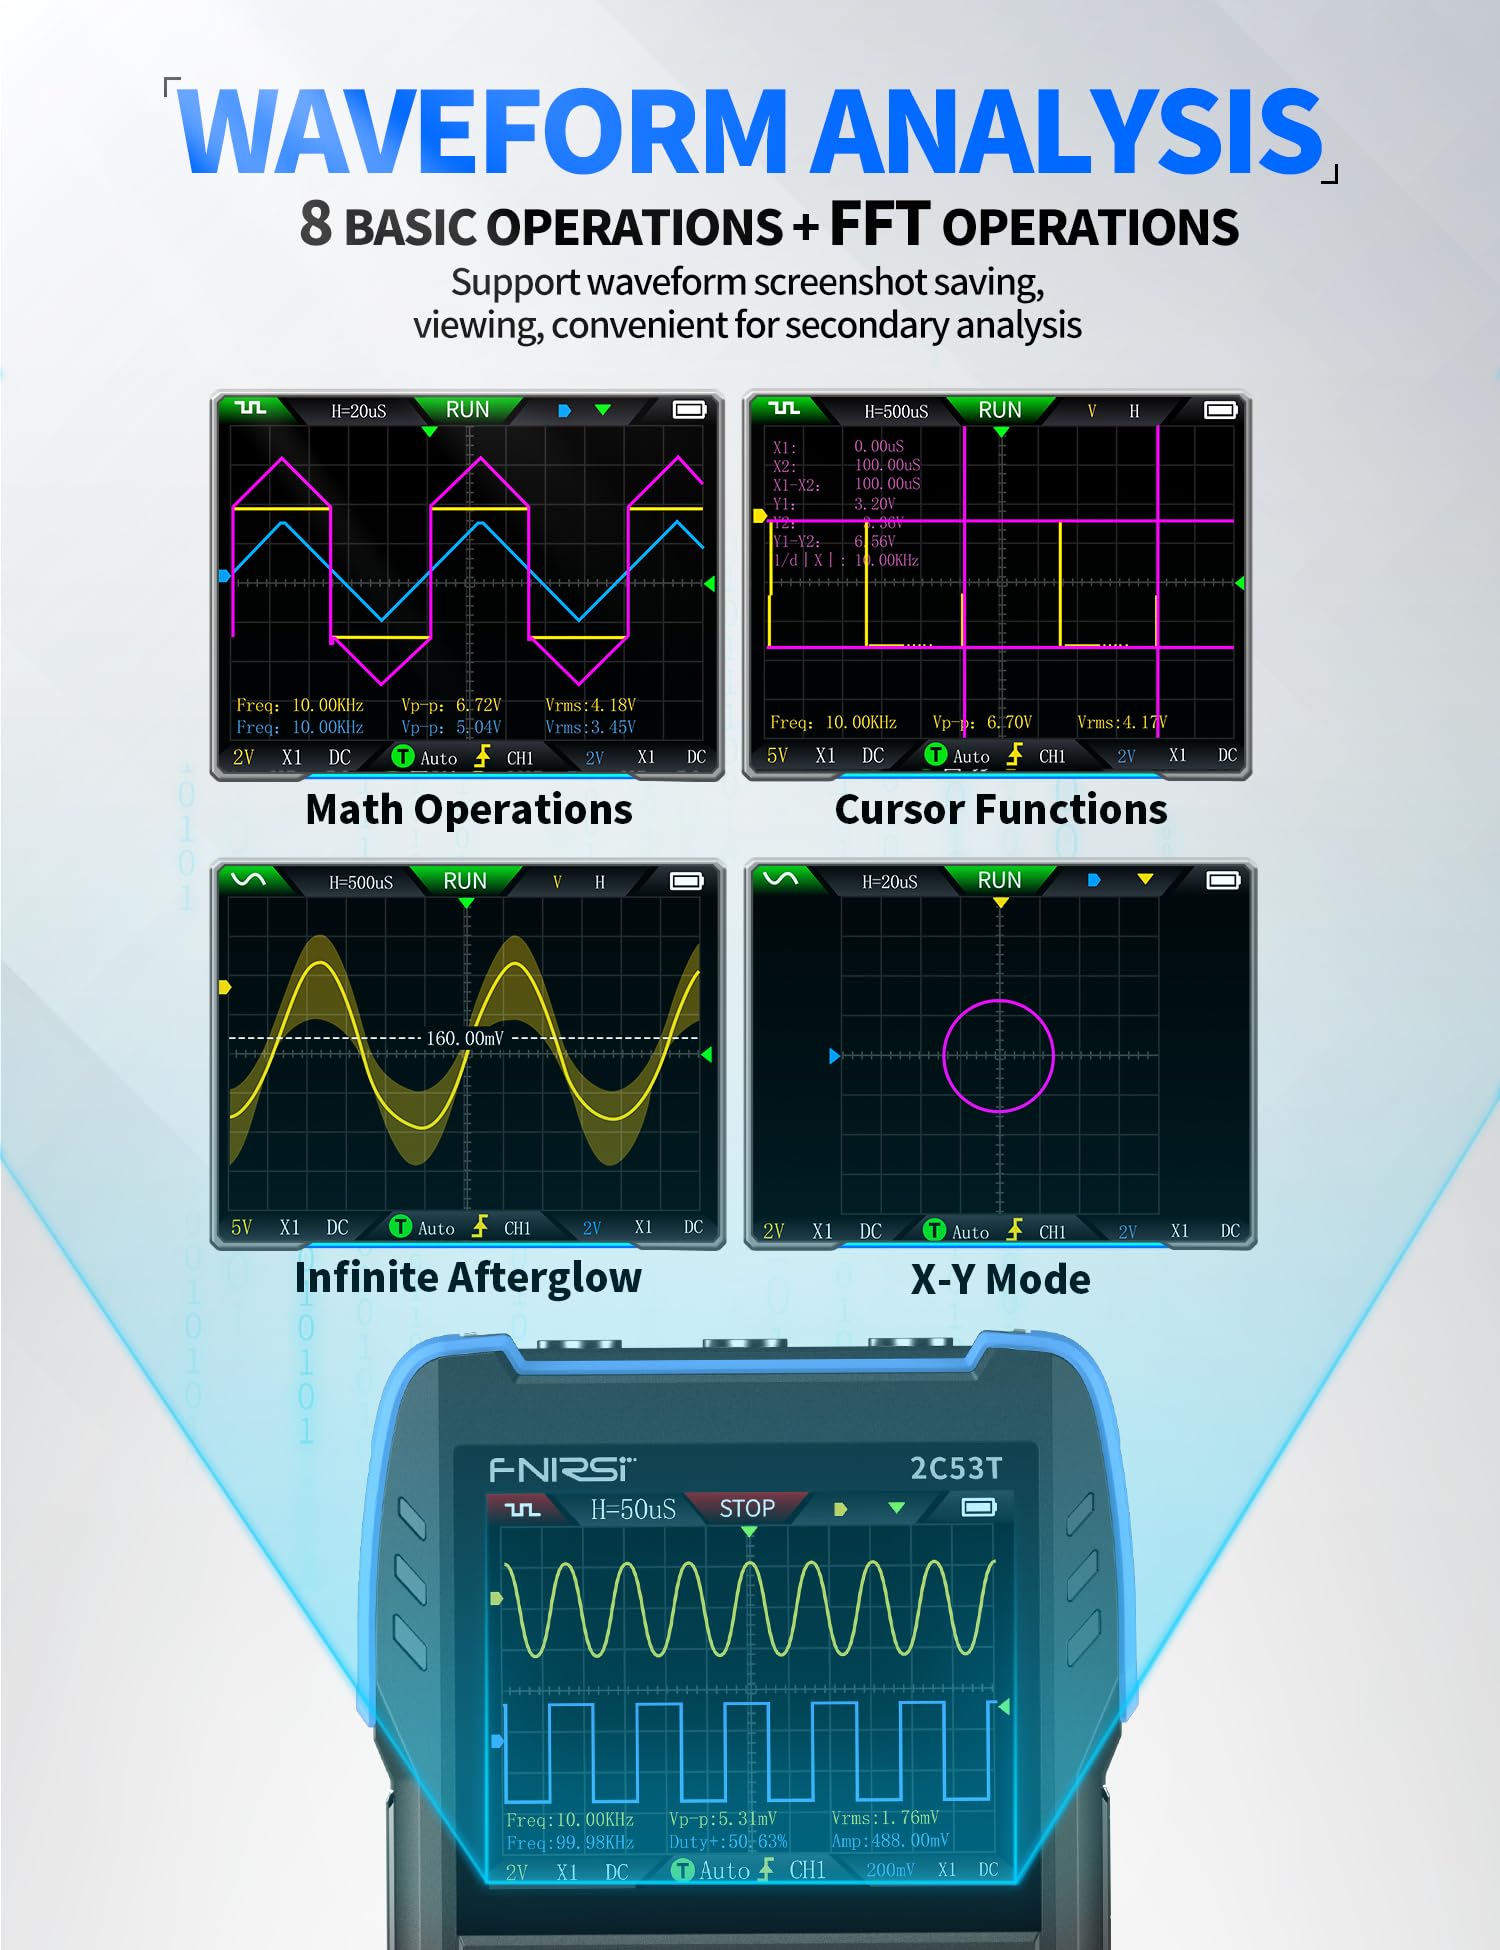
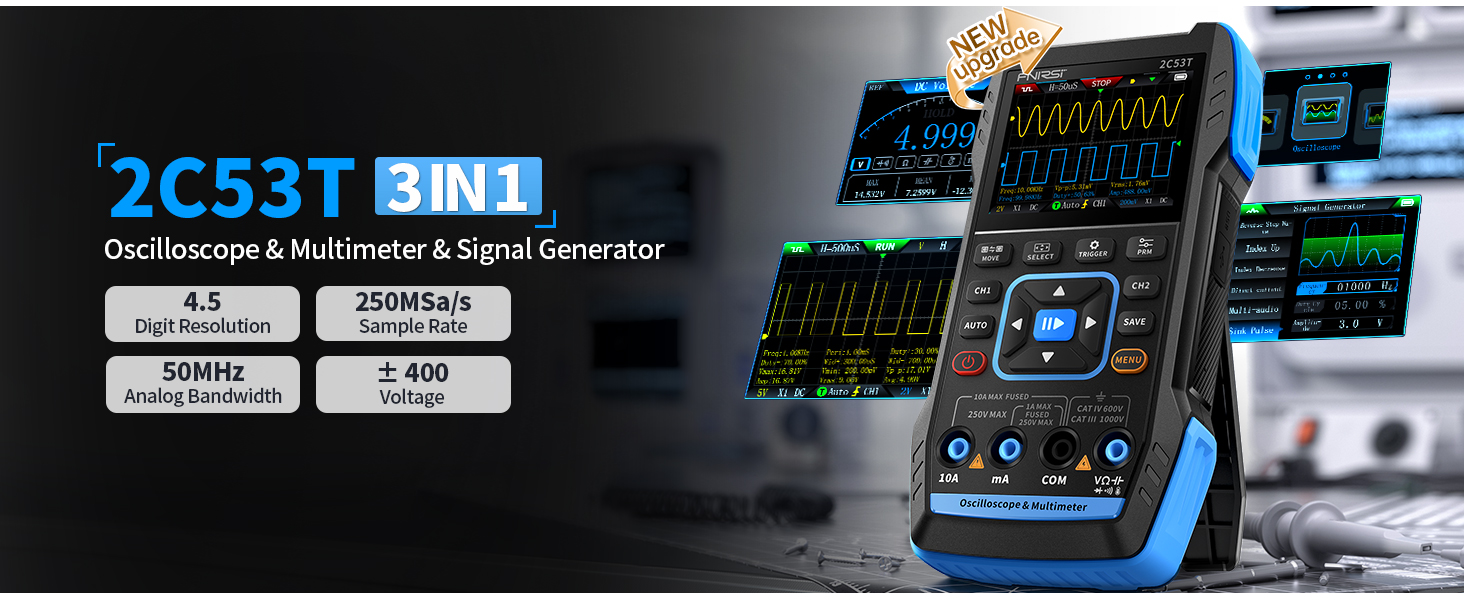
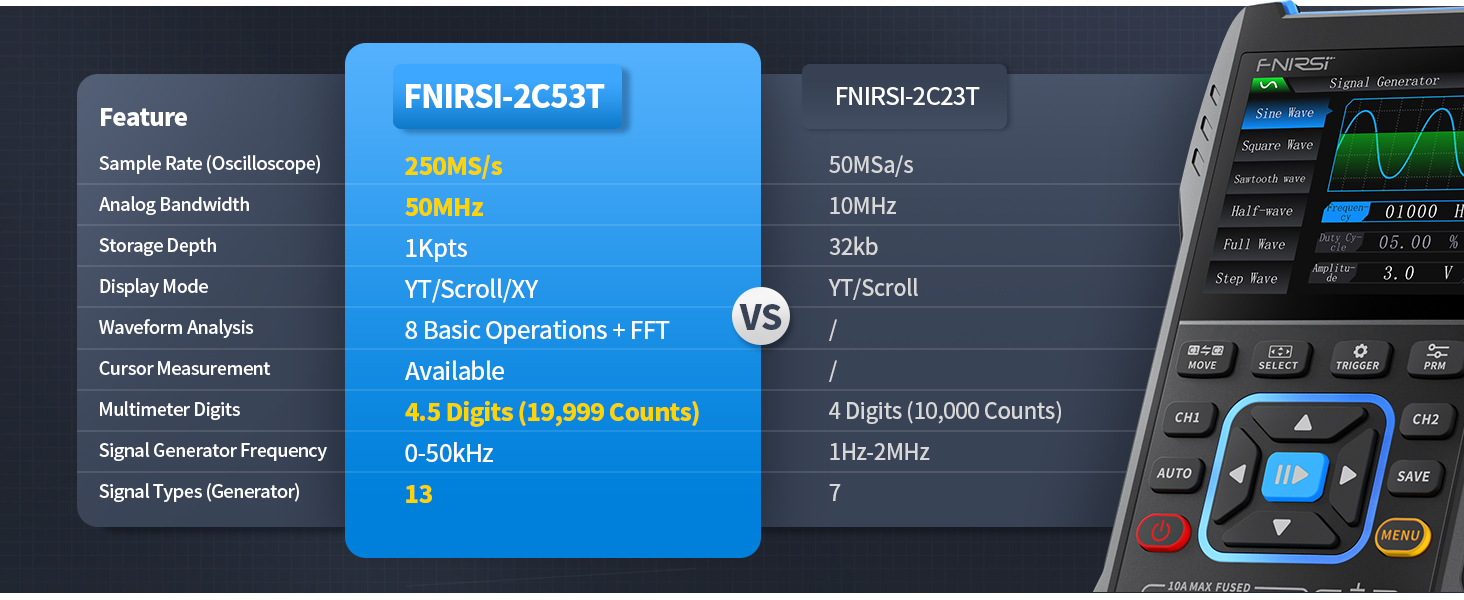
- 銆怤ewly Version銆慣he 2C53T is an upgraded version of the 2C23T. which improves the measuring range and adds math operation锛宑ursor measurement锛宲ersistence mode锛孹Y mode features
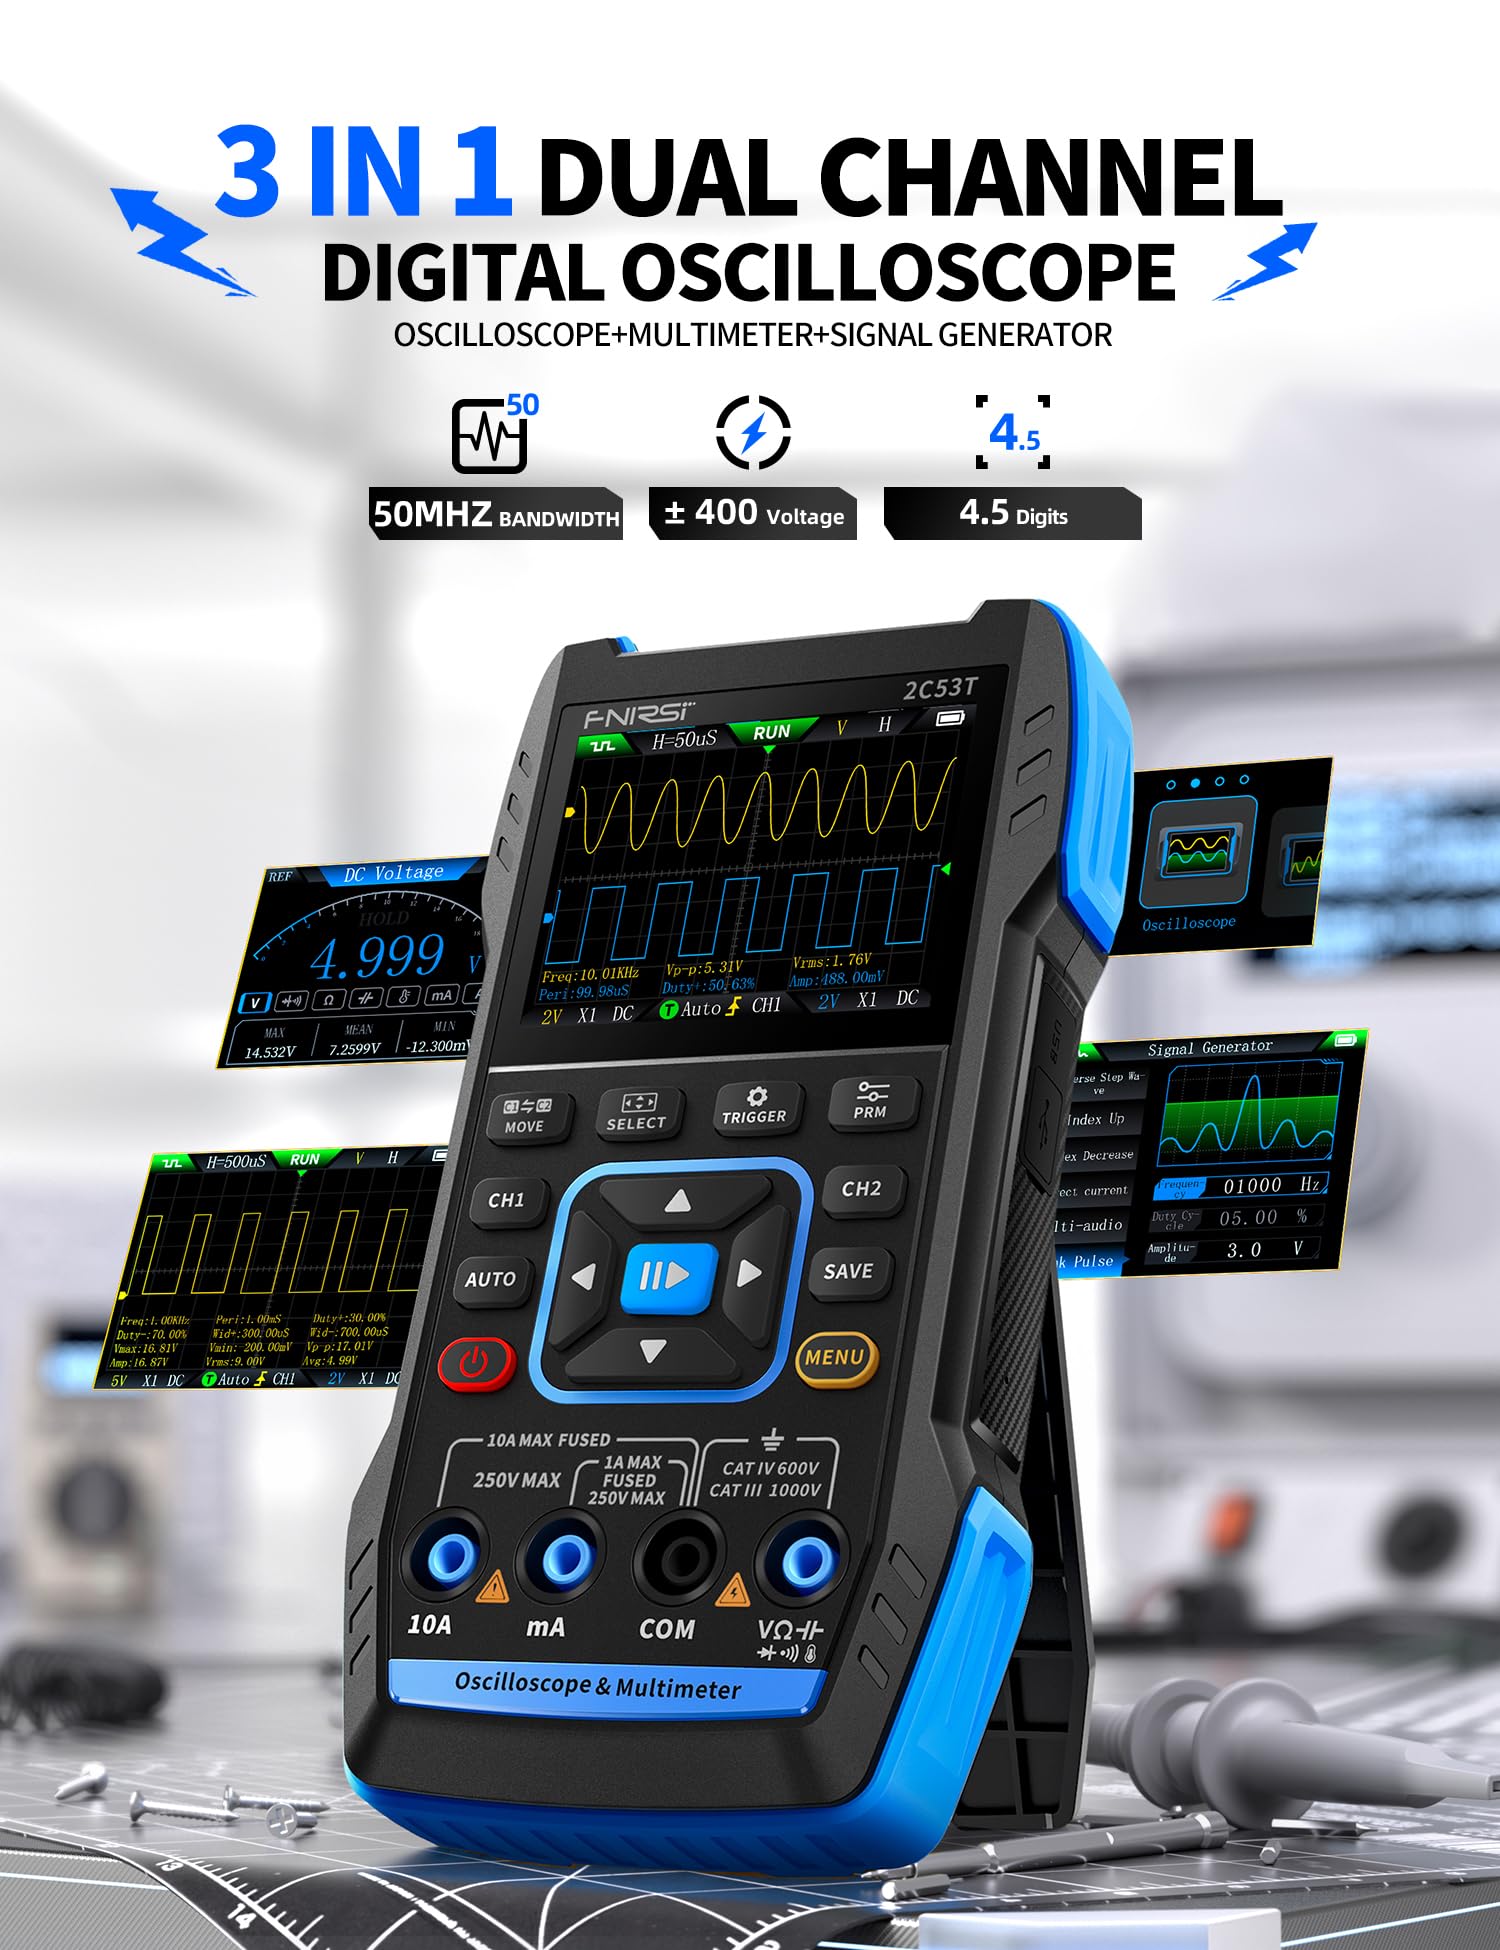
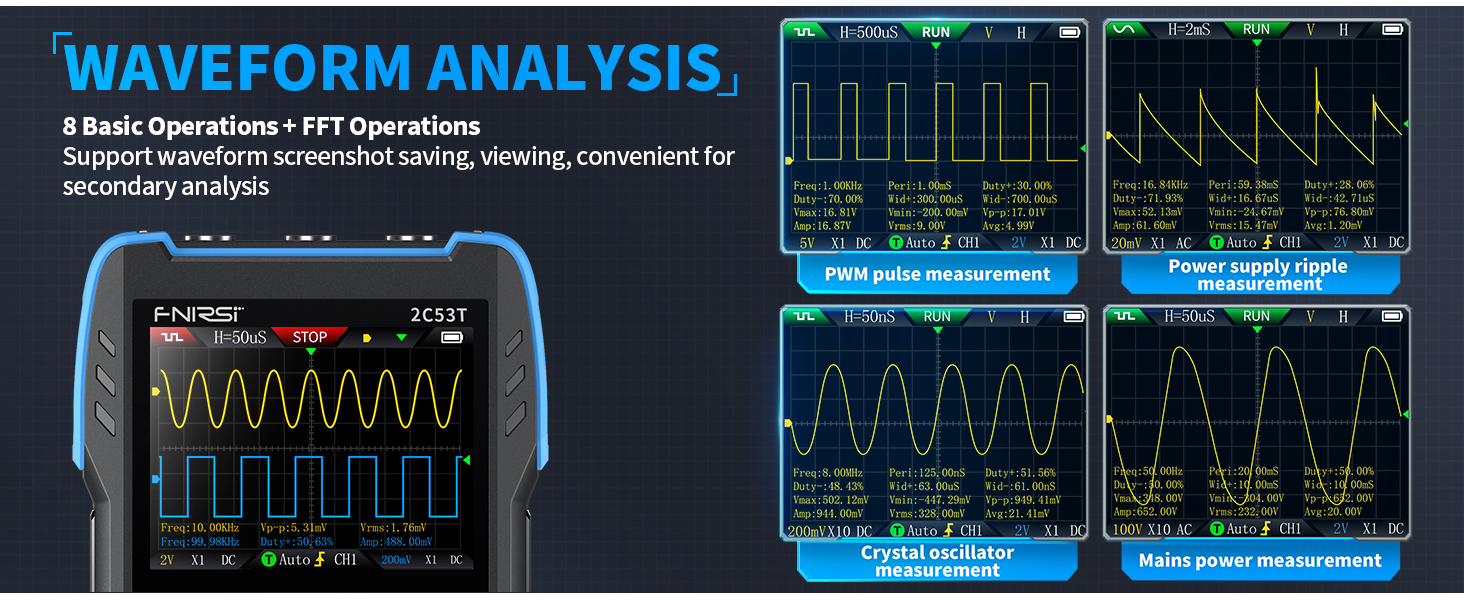
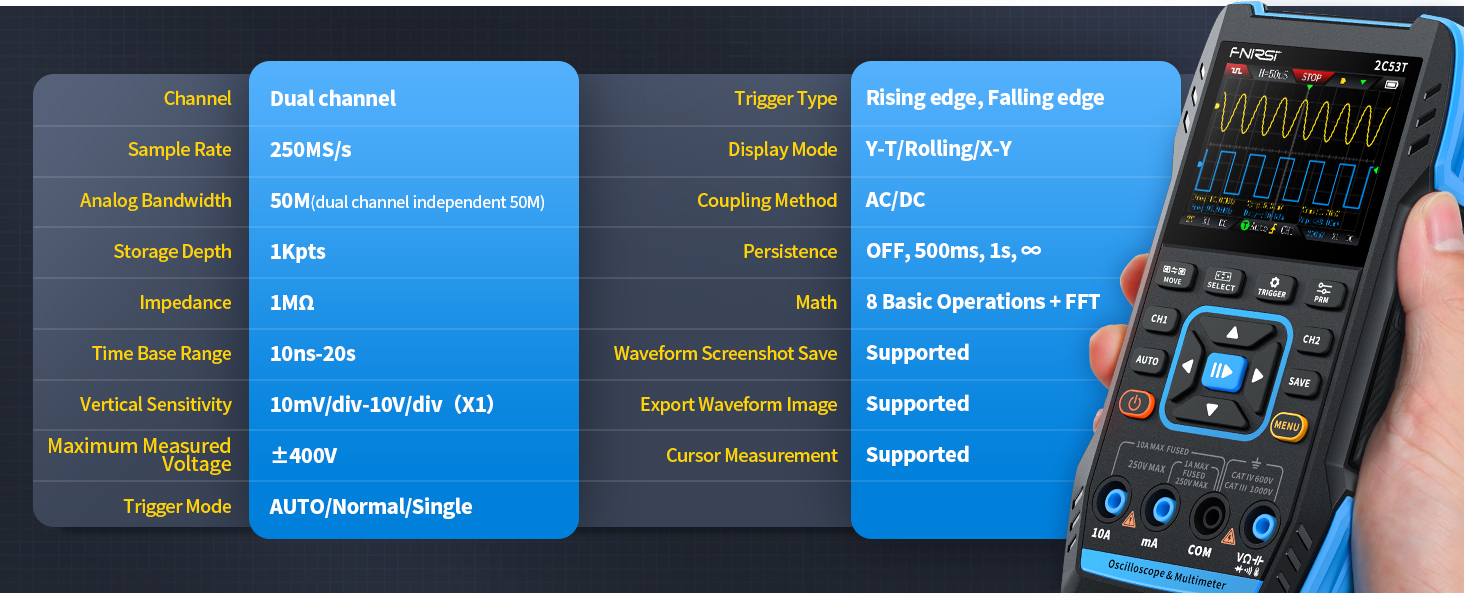
- 銆? Channel Oscilloscope銆?0 MHz bandwidth. 250 MSa/s sampling rate. 1 Kpts record depth. automatic measurement function. max voltage 400 V. vertical sensitivity 10mV/div-10V/div . support waveform image storage and export
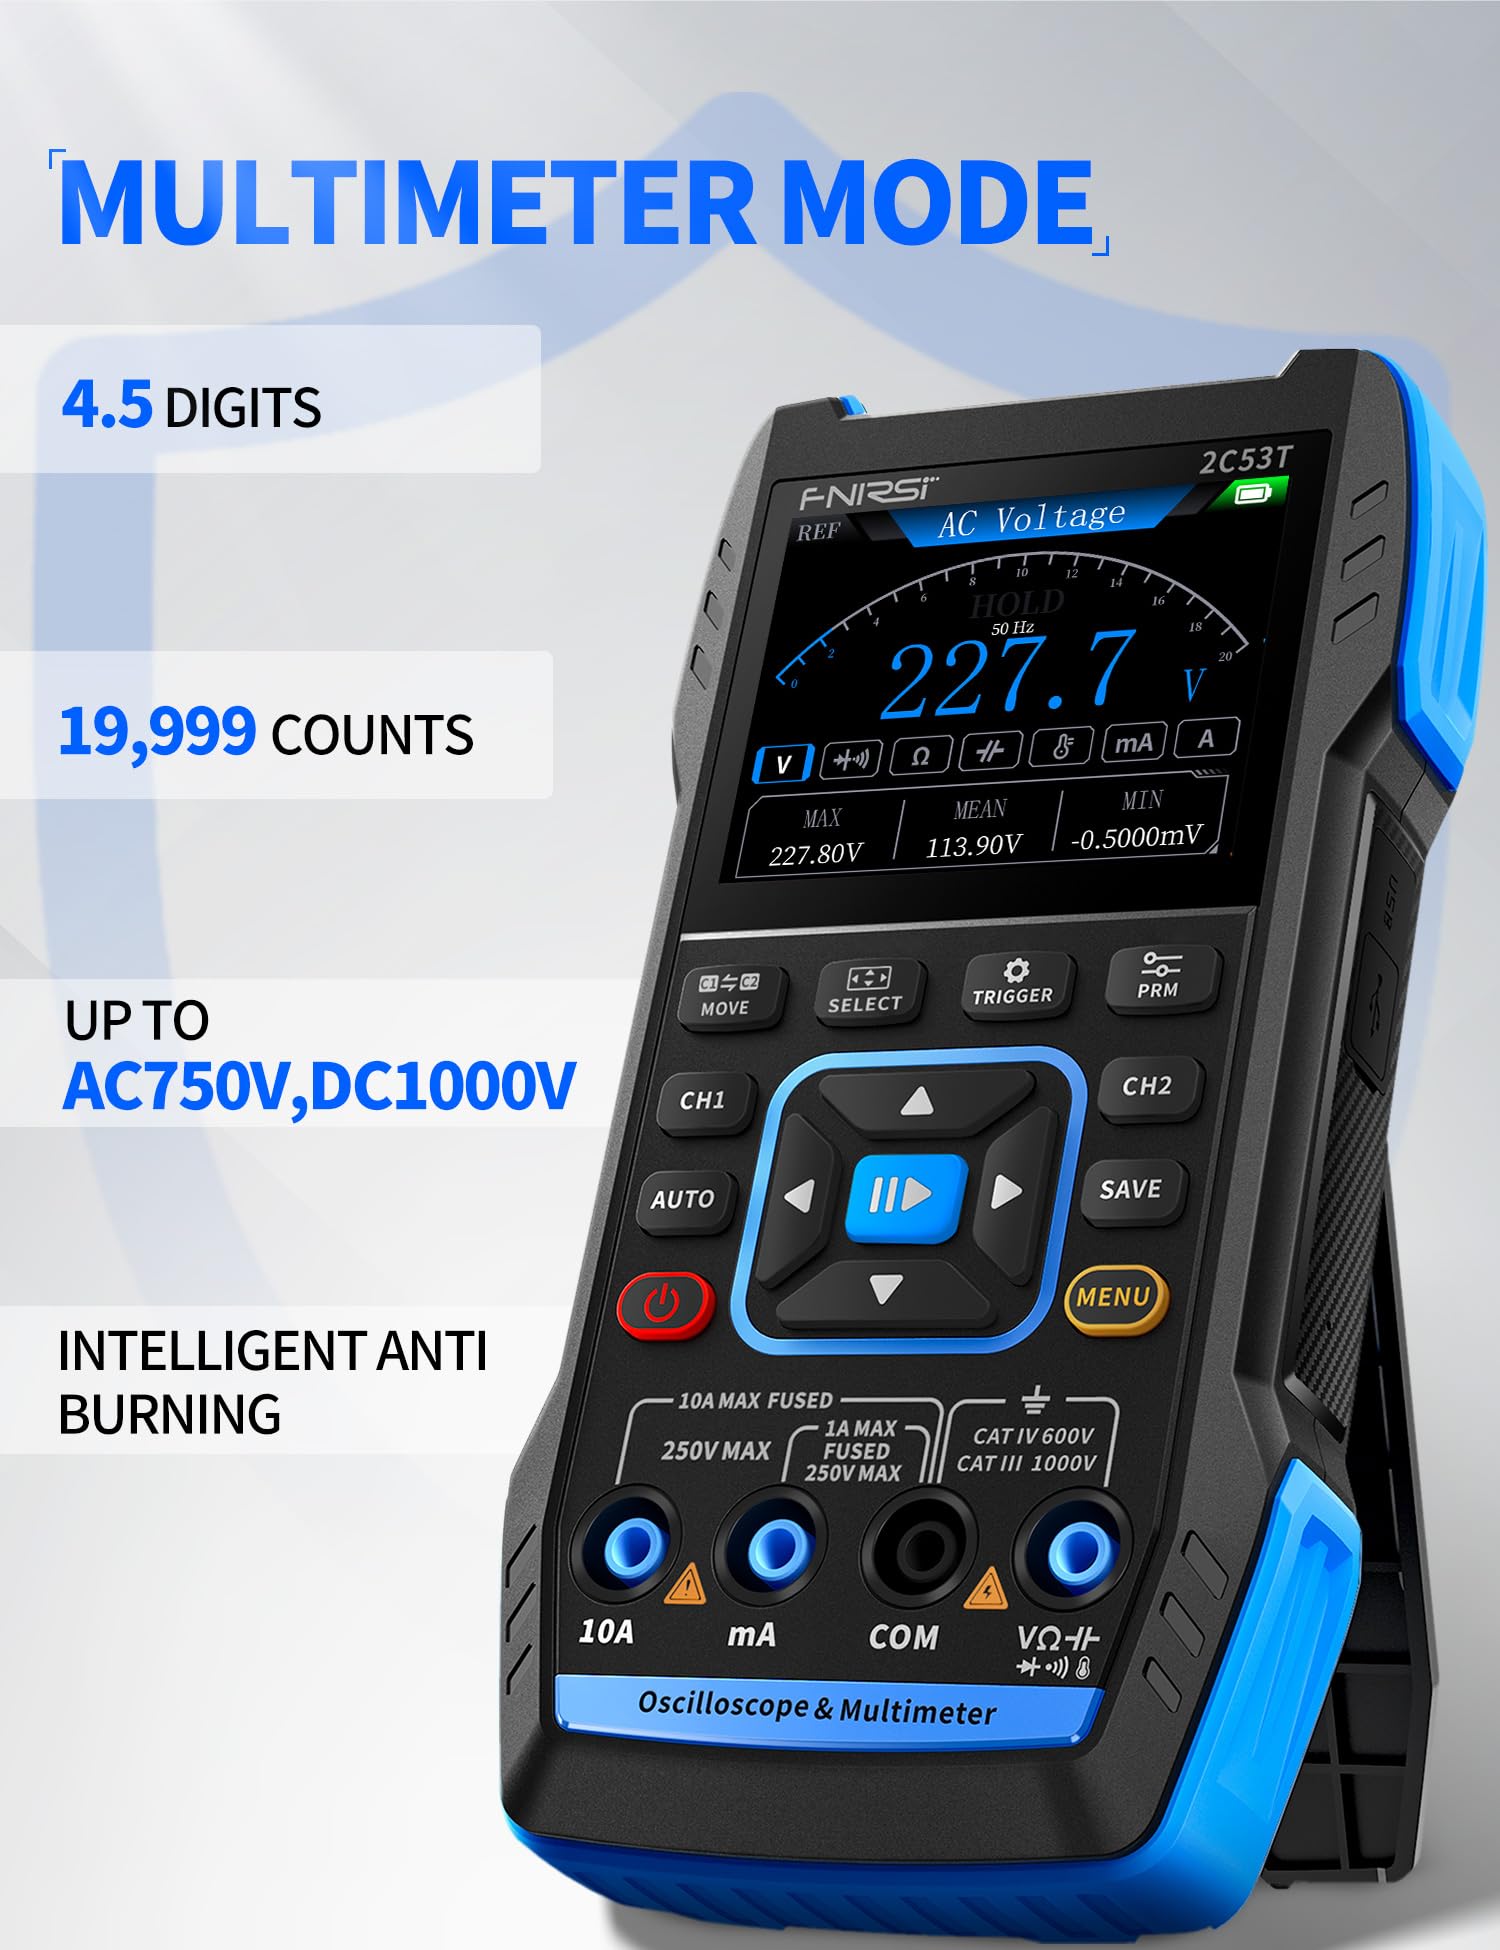
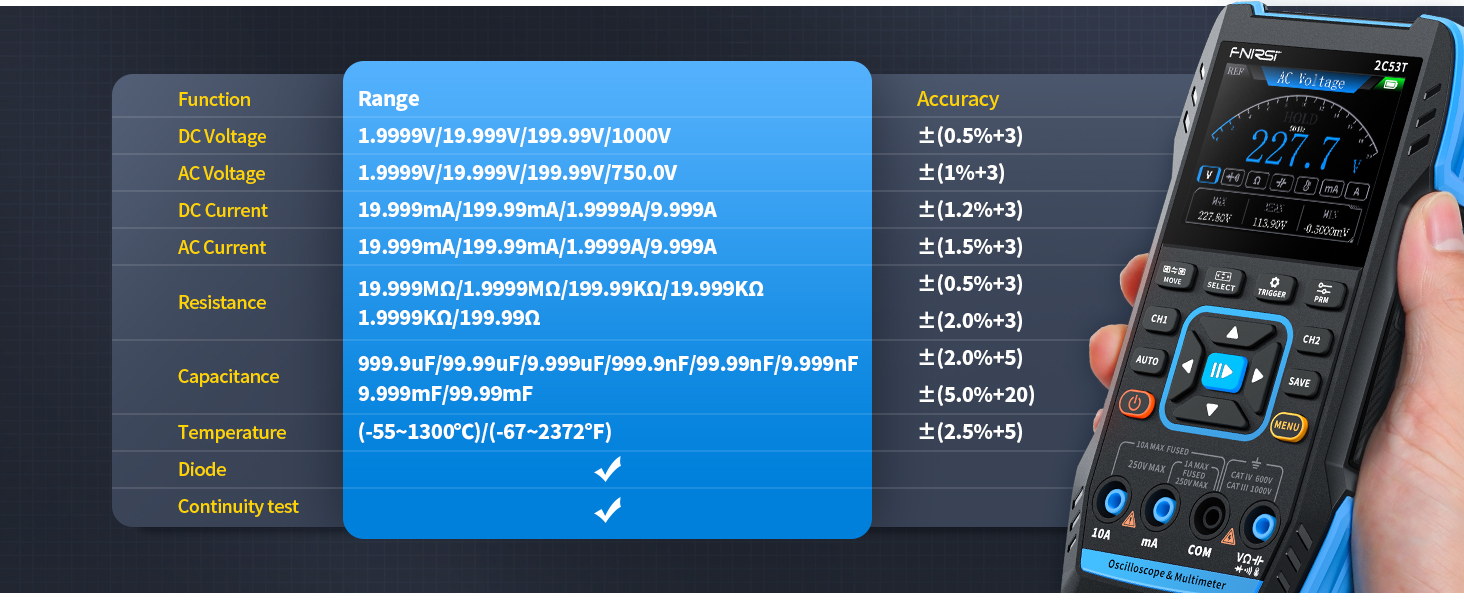
- 銆?.5-Digit 19999 Counts Multimeter銆慉C Voltage: 0-750 V. DC Voltage: 0-999.9 V. DC/AC Current: 0-9.999 A. Resistance: 0-19.99 M惟. Capacitance: 0-99.99 mF. Continuity Measurement. Multi-function meter for professionals. schools and hobbyists
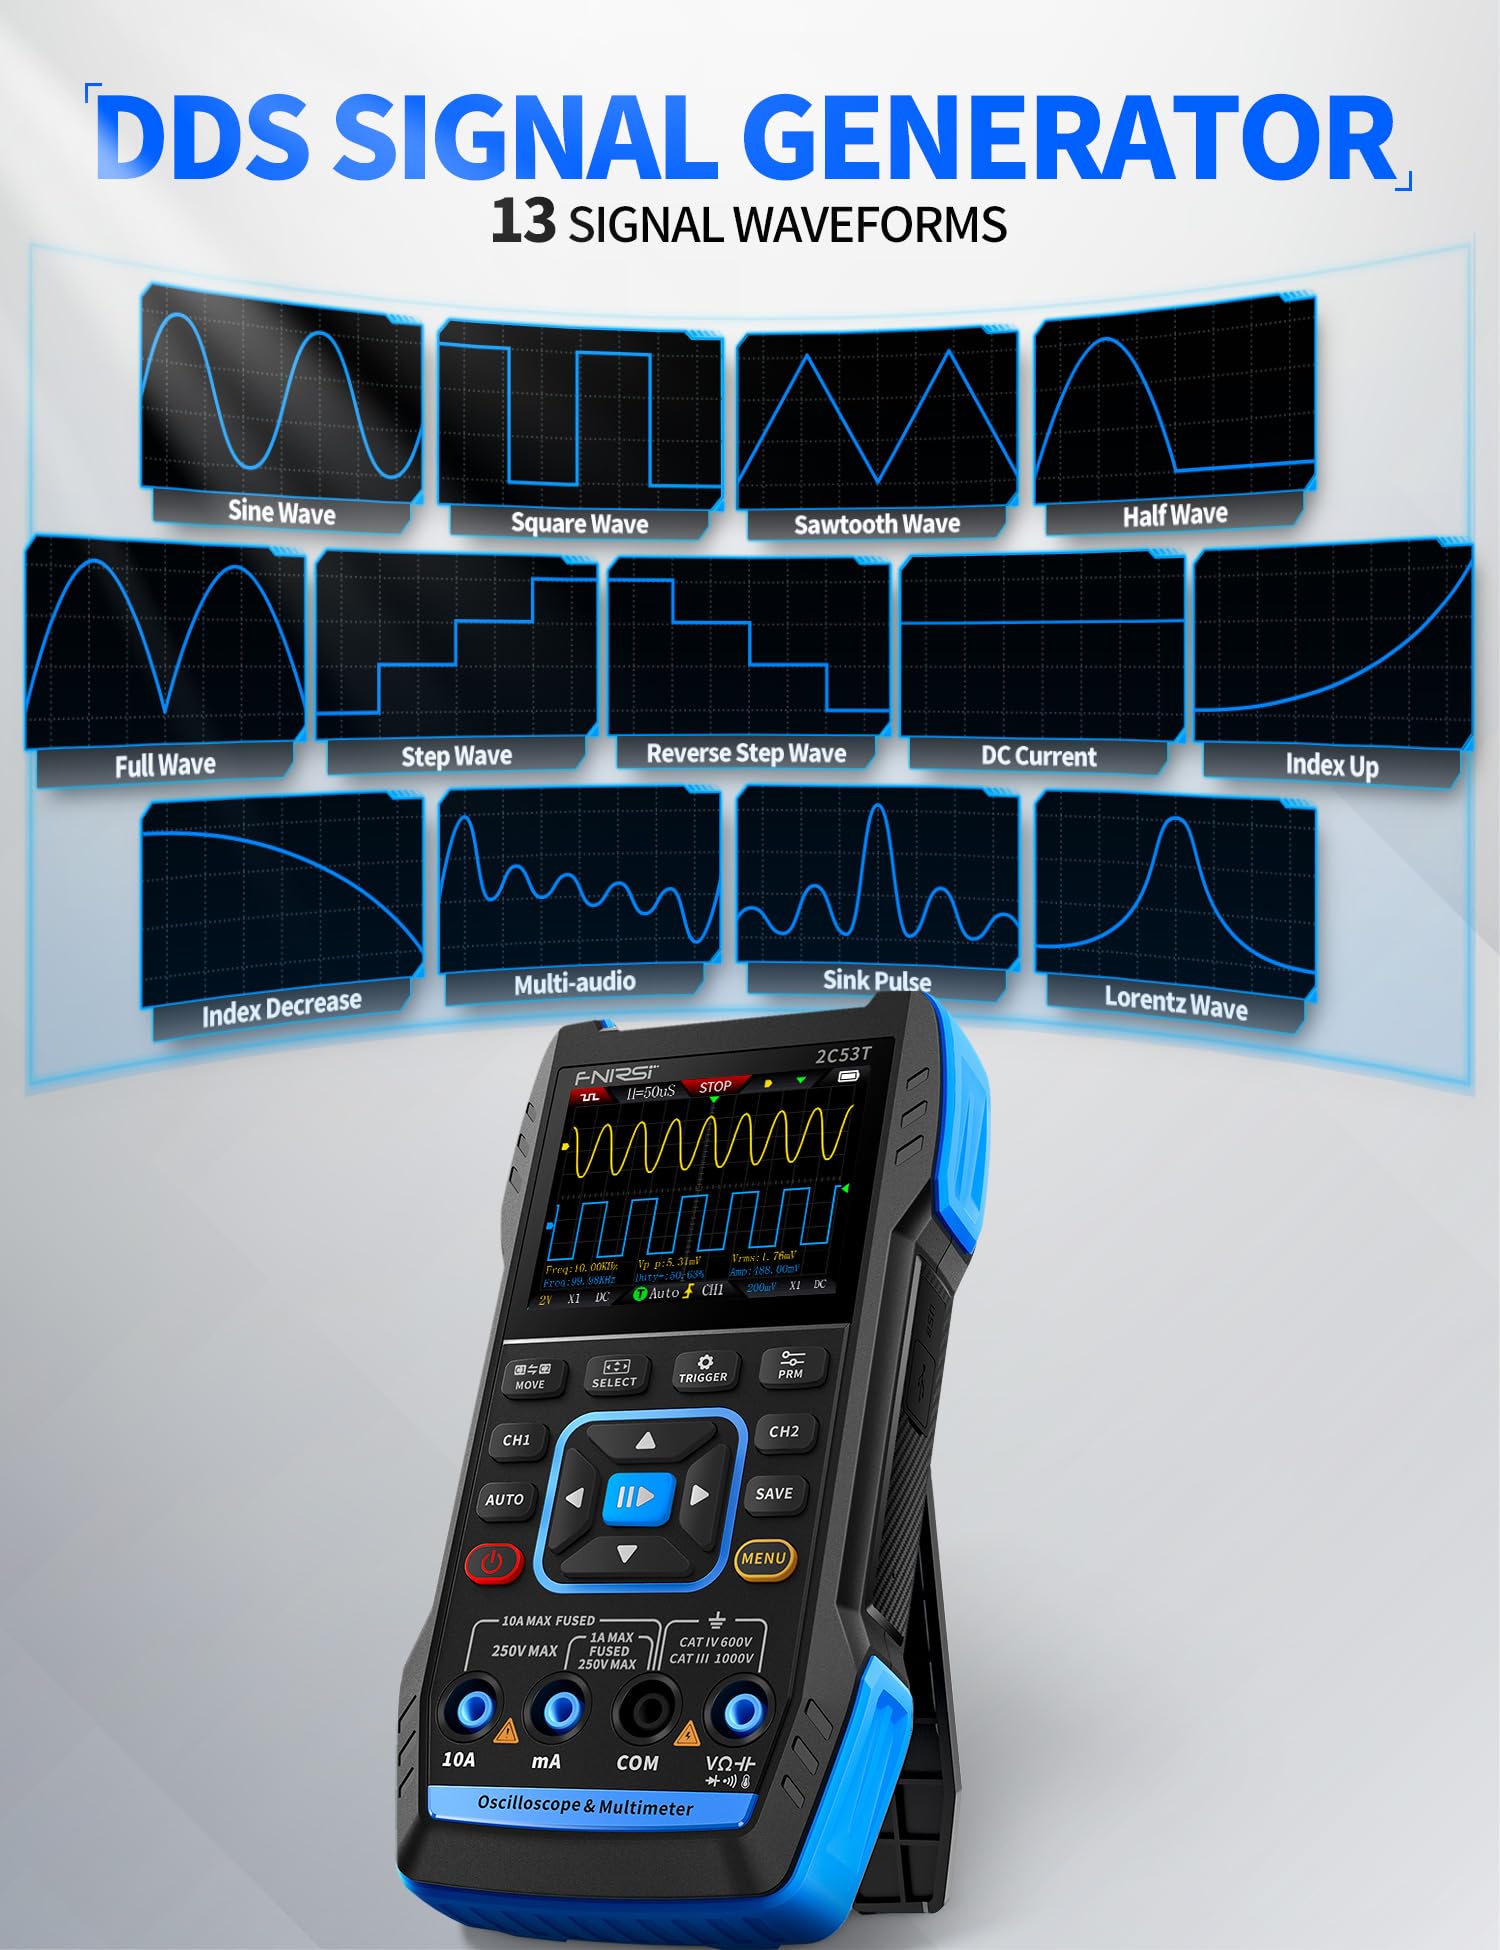
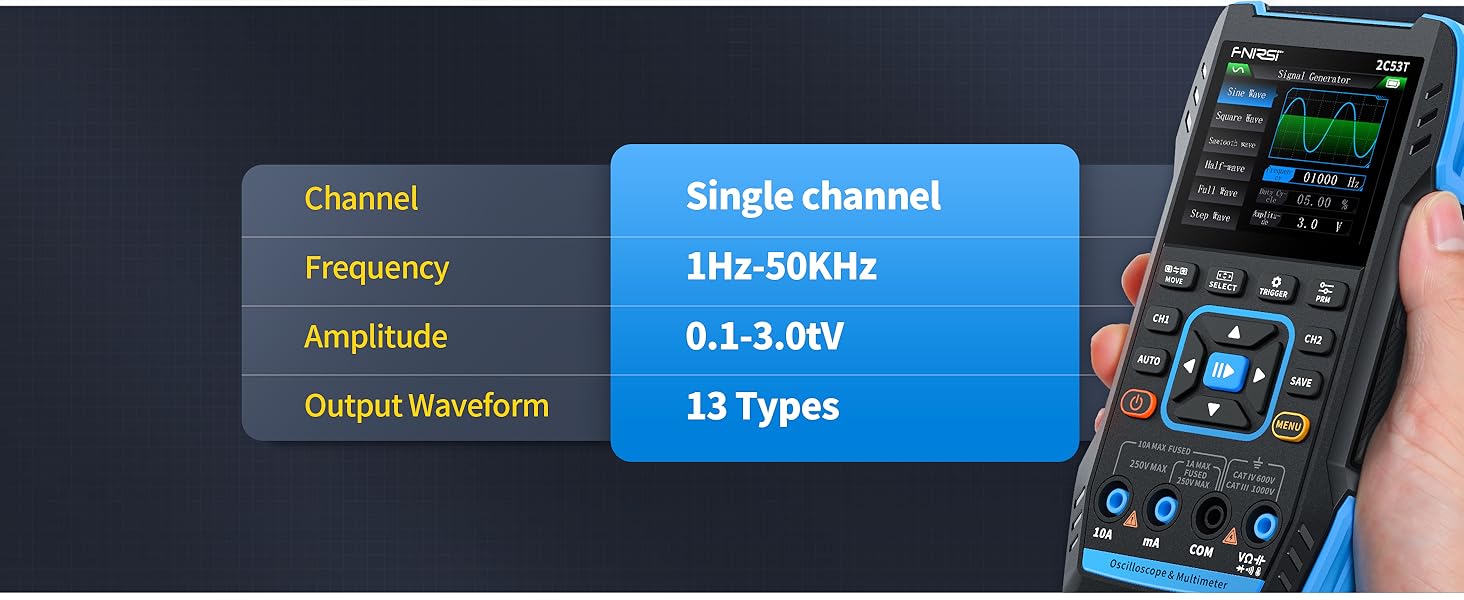
- 銆怱ignal Generator銆慣he maximum waveform output frequency can reach 50 kHz and a step of 1 Hz. and can output 13 waveforms
- 銆怱ave function銆憃ne-click save. screening function. You can upload the saved image by connecting to PC via Type-C. You can easily compare the waveforms by displaying the reference waveform and the measured waveform on the same screen
- 銆怑xcellent Design銆慣he Oscilloscope adopts FPGA+MCU+ADC hardware architecture. built-in high-voltage protection module. adopts 2.8 inch LCD display. built-in 3000 mAh battery. standby time up to 6 H. Type-C interface supports 5 V/1 A charging
- 銆怢anguage Switch銆慉fter powering on the device. press the left or right directional buttons to enter System Settings. then select the Language option to switch languages.
- 銆怓irmware Installation銆?Connect the device to the computer via a data cable. Press and hold the MENU button. then press the Power button to enter firmware installation mode. Copy the firmware to the popped-up USB drive on the computer.
-
Customer ReviewsNo comments